There’s something about hot cross buns that makes me think of cozy spring mornings. I used to only make them around Easter, but honestly, why wait? The warm spices and sweet fruit are perfect any time of year. The problem is, I don’t always want to heat up my whole oven just for a batch of buns.
That’s where the air fryer comes in. It heats up fast, doesn’t warm up my entire kitchen, and gets these buns golden and soft in less time than the traditional method. I can have fresh hot cross buns on the table without all the fuss. Plus, cleanup is easier, which is always a win in my book.
Whether you’re making these for Easter breakfast or just because you’re craving something a little special, this air fryer version makes the whole process so much simpler. No waiting around for a big oven to preheat, and you still get that classic taste everyone loves.
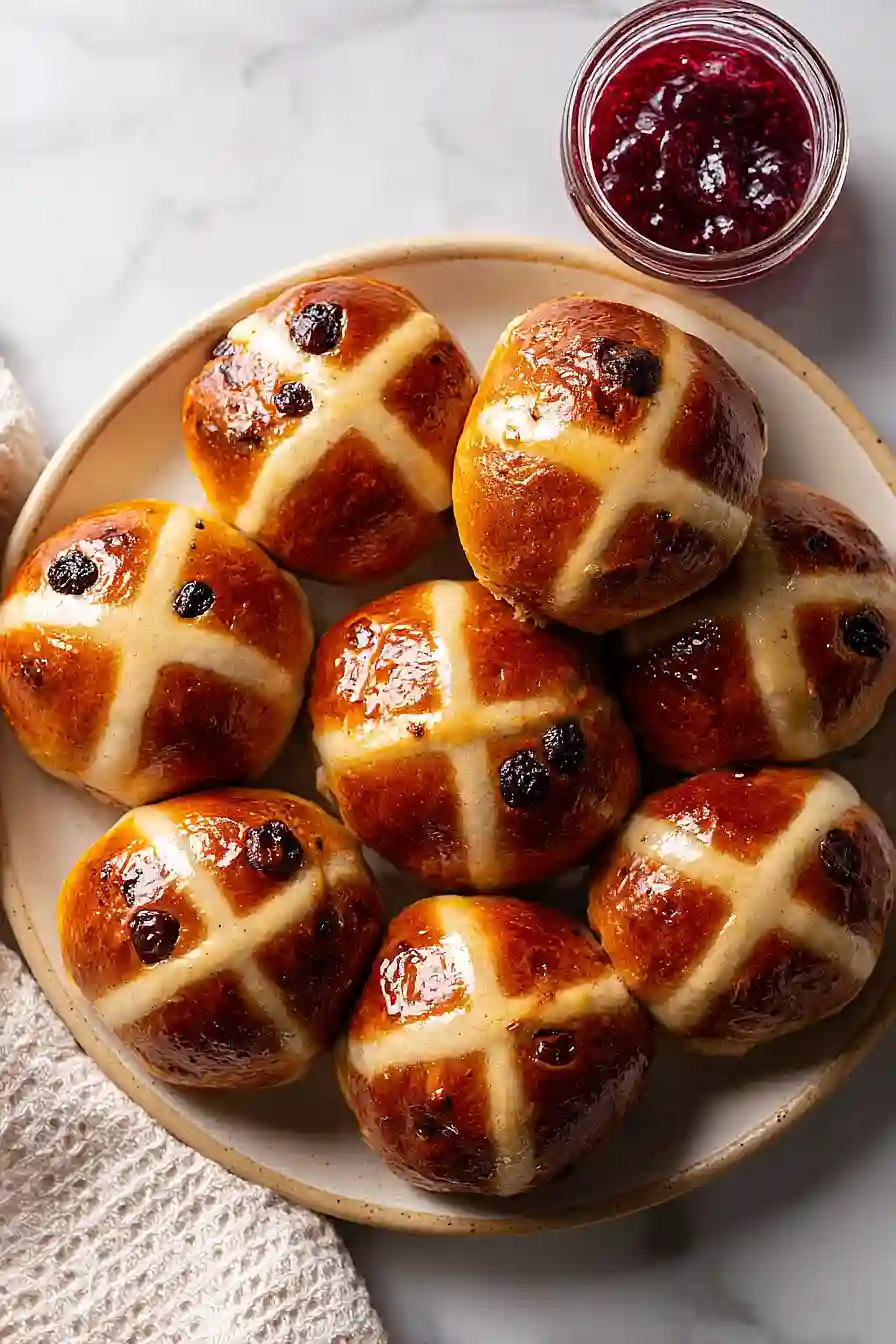
Why You’ll Love These Air Fryer Hot Cross Buns
- Air fryer convenience – No need to heat up your entire oven—these buns cook perfectly in your air fryer, saving energy and keeping your kitchen cool.
- Traditional Easter treat made easy – You get all the soft, spiced goodness of classic hot cross buns without complicated techniques or special equipment.
- Simple pantry ingredients – Everything you need is probably already in your kitchen—just basic baking staples like flour, yeast, milk, and dried fruit.
- Perfect for special occasions or weekend baking – While they do take a couple of hours with rising time, the actual hands-on work is minimal, making them a fun project that feels rewarding.
What Kind of Flour Should I Use?
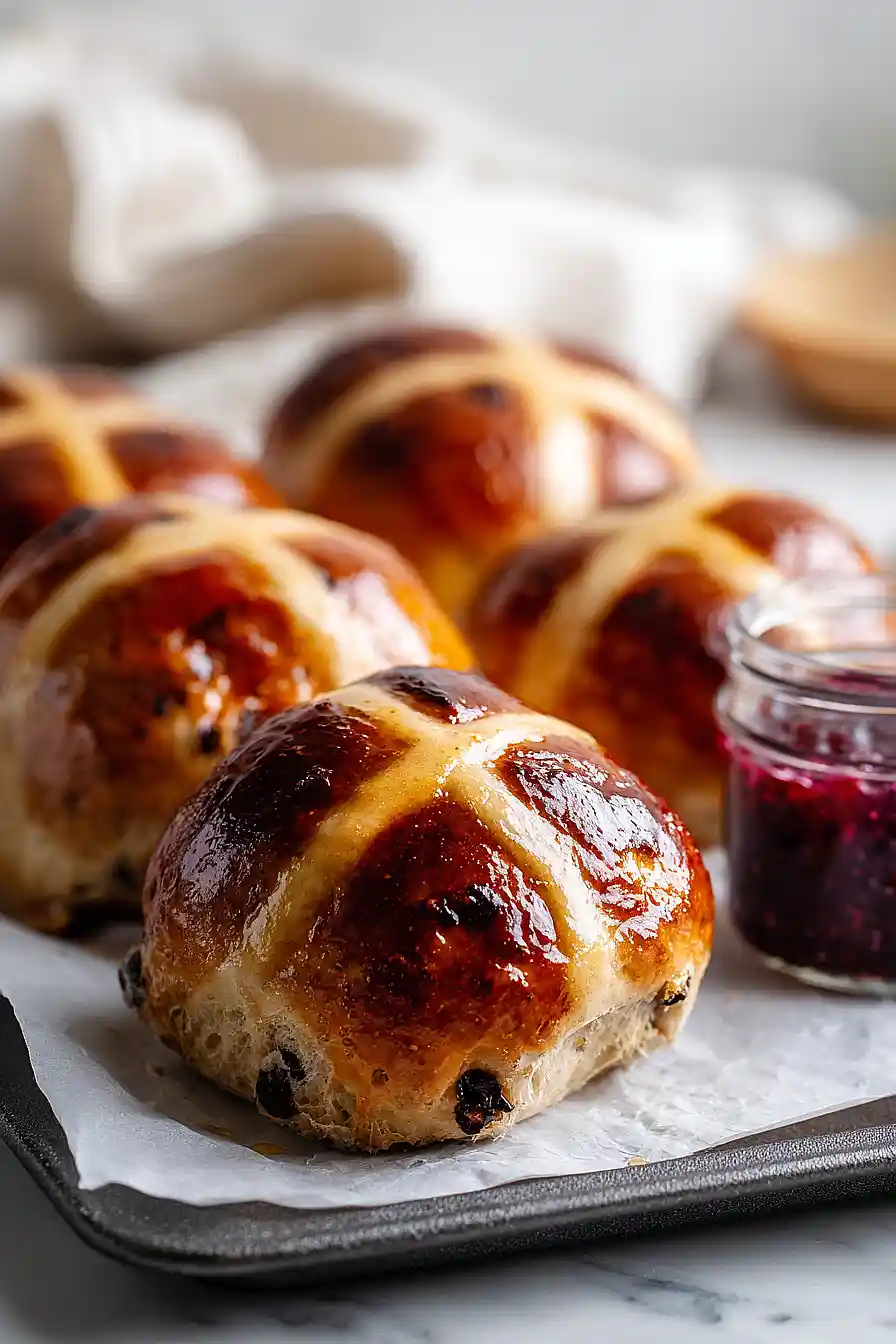
For hot cross buns, all-purpose flour is your best bet and will give you that soft, pillowy texture you’re looking for. Bread flour can also work if that’s what you have on hand, though it might make your buns slightly chewier due to the higher protein content. If you’re feeling adventurous, you could swap out a small portion of the all-purpose flour with whole wheat flour for a nuttier flavor, but I’d stick to mostly white flour to keep these buns light and fluffy. Make sure your flour is fresh and stored in an airtight container, as old flour can affect how well your dough rises.
Options for Substitutions
While hot cross buns have some key ingredients you’ll want to keep, there’s still room for a few swaps:
- Dried fruit: Traditional hot cross buns use raisins and currants, but you can mix it up with dried cranberries, chopped dried apricots, or even chocolate chips if you want a modern twist.
- Spice: Most recipes call for mixed spice or a combination of cinnamon, nutmeg, and allspice. If you don’t have mixed spice, use 1/4 teaspoon cinnamon plus a pinch each of nutmeg and allspice.
- Milk: You can use any type of milk you have – whole, 2%, almond, or oat milk all work fine. Just keep in mind that non-dairy options might give a slightly different texture.
- Butter: Margarine or coconut oil can replace butter if needed, though butter gives the best flavor and texture.
- Yeast: Don’t substitute the yeast – it’s essential for these buns to rise properly and get that soft, fluffy texture. Make sure your yeast is fresh and active before starting.
Watch Out for These Mistakes While Baking
The biggest mistake when making hot cross buns in an air fryer is overcrowding the basket, which prevents proper air circulation and leads to unevenly cooked buns – leave at least an inch of space between each bun so they can rise and brown properly.
Temperature control is tricky in air fryers, so check your buns at the 12-minute mark instead of waiting the full 15 minutes, as air fryers can run hotter than conventional ovens and you don’t want dry, overbaked buns.
When making the cross paste, aim for a consistency like thick pancake batter rather than something too runny or too stiff – if it’s too thin, the crosses will spread and disappear during baking, and if it’s too thick, it won’t pipe smoothly.
Finally, don’t skip the rising times even though you might be tempted to speed things up, as rushing the dough will result in dense, heavy buns instead of the light and fluffy texture you’re after.
What to Serve With Hot Cross Buns?
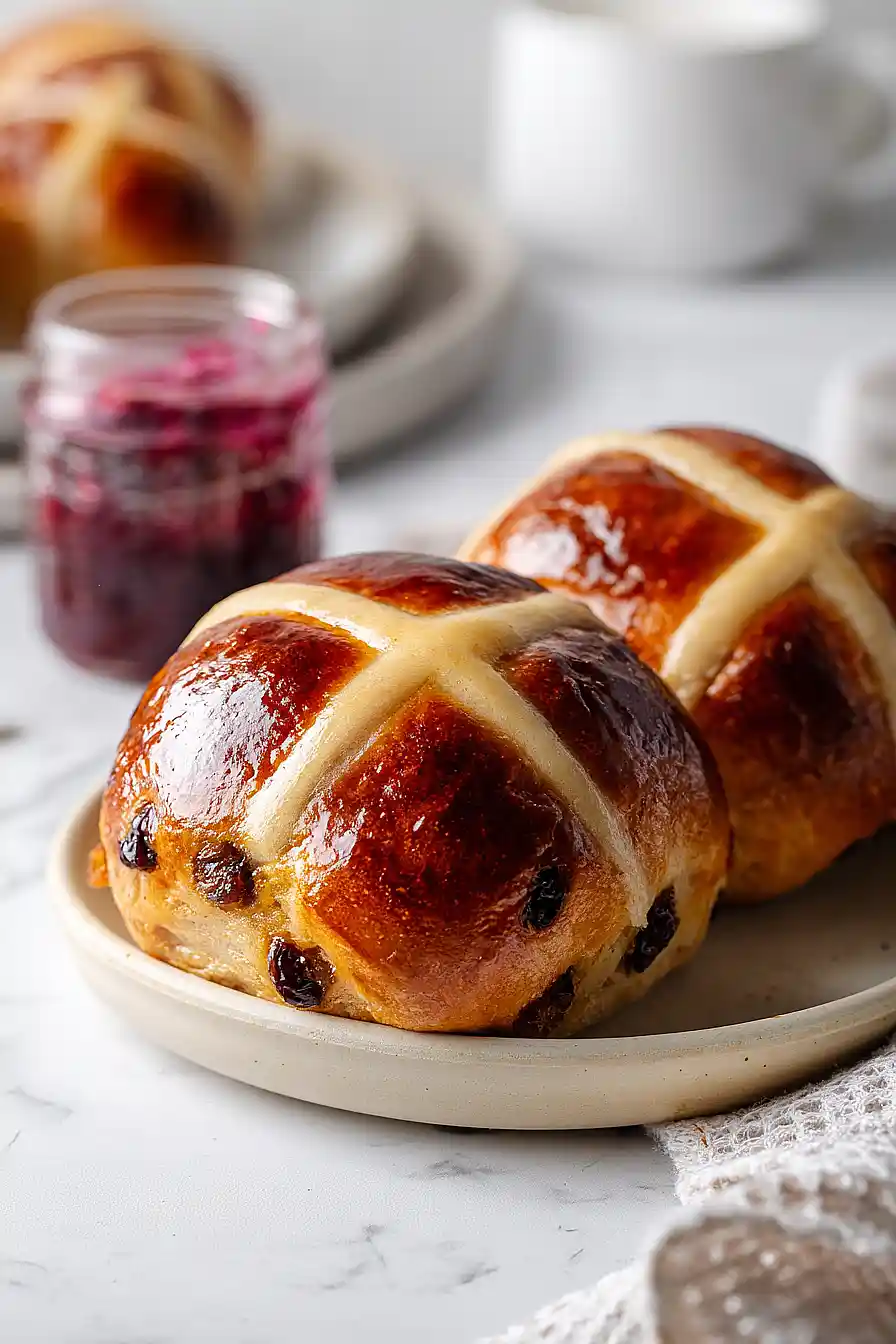
Hot cross buns are perfect for Easter breakfast or brunch, and they’re honestly delicious enough to eat on their own while they’re still warm from the air fryer. I love slicing them in half and spreading on some salted butter that melts right into all those little nooks and crannies. If you want to make it feel more like a complete meal, serve them alongside scrambled eggs, crispy bacon, and fresh fruit like strawberries or orange slices. For a cozy afternoon snack, pair your hot cross buns with a cup of tea or coffee and maybe some clotted cream or jam on the side.
Storage Instructions
Store: Keep your hot cross buns in an airtight container or bread bag at room temperature for up to 3 days. They’re best enjoyed within the first day or two when they’re still soft and fresh. If they start to dry out a bit, a quick warm-up will bring them back to life.
Freeze: These buns freeze really well for up to 2 months. Let them cool completely, then wrap each one individually in plastic wrap before placing them all in a freezer bag. This way you can grab just one or two whenever you want without thawing the whole batch.
Warm Up: To enjoy your hot cross buns again, thaw frozen ones at room temperature for about an hour, then warm them in the air fryer at 300°F for 2-3 minutes. You can also microwave them for 15-20 seconds if you’re in a hurry. A little butter on top while they’re warm makes them taste freshly baked!
| Preparation Time | 90-120 minutes |
| Cooking Time | 15-20 minutes |
| Total Time | 105-140 minutes |
| Level of Difficulty | Medium |
| Servings | 4 buns |
Estimated Nutrition
Estimated nutrition for the whole recipe (without optional ingredients):
- Calories: 650-750
- Protein: 15-18 g
- Fat: 15-18 g
- Carbohydrates: 120-135 g
Ingredients
For the dough:
- 1 1/4 cups flour (I always use King Arthur all-purpose flour)
- 1 tsp yeast
- 3 tbsp sugar
- 1/2 tsp mixed spice
- 1/8 tsp ground cinnamon
- 1/4 tsp salt
- 1 extra-large egg (room temperature, about 70°F)
- 2.5 fl oz milk
- 1 tbsp butter (I like Kerrygold unsalted butter for this)
- 1/3 cup dried fruit
For the crosses:
- 1/3 cup flour (sifted to remove lumps)
- 2 tbsp water
For the glaze:
- 1.5 tbsp sugar
- 2 tbsp milk (makes it extra creamy and rich)
Step 1: Prepare Mise en Place and Activate Dough
- 1 1/4 cups flour
- 1 tsp yeast
- 3 tbsp sugar
- 1/2 tsp mixed spice
- 1/8 tsp ground cinnamon
- 1/4 tsp salt
- 1 extra-large egg
- 2.5 fl oz milk
Gather all ingredients and bring the egg to room temperature—this helps the dough develop evenly.
Measure the flour, yeast, sugar, mixed spice, cinnamon, and salt into a bowl.
In a separate small bowl, combine the room-temperature egg with the milk, whisking until well blended.
You want approximately 85ml of total liquid, so adjust if needed.
This step ensures all your components are ready before mixing, which is crucial for building a well-structured dough.
Step 2: Mix and Knead the Dough with Dried Fruit
- dry ingredient mixture from Step 1
- egg-milk mixture from Step 1
- 1 tbsp butter
- 1/3 cup dried fruit
Pour the egg-milk mixture into the dry ingredients along with the 1 tbsp of butter, then stir until a shaggy dough forms.
Once combined, knead the dough for 5-10 minutes until smooth and elastic—you’ll know it’s ready when it springs back slowly when poked.
Fold in the dried fruit during the last minute of kneading, distributing it evenly throughout.
I find that adding the butter directly to the wet mixture helps it incorporate more smoothly into the dough rather than trying to mix it in separately.
Step 3: First Rise and Bulk Fermentation
- kneaded dough from Step 2
Lightly oil a bowl and place the kneaded dough inside, turning it to coat all sides.
Cover the bowl with a damp cloth or plastic wrap and let it rise in a warm spot for 1-1.5 hours until doubled in size.
This fermentation period develops flavor and gives the yeast time to work, creating a light, airy texture in your final buns.
Step 4: Shape the Buns and Second Rise
- risen dough from Step 3
Turn the risen dough out onto a lightly floured surface and gently knead for 1-2 minutes to release excess gas.
Divide the dough into four equal pieces and roll each piece into a tight ball, tucking the seams underneath for a smooth top.
Place the buns seam-side down on a piece of parchment paper, leaving space between them for expansion.
Cover loosely and let rise for 30 minutes until puffy and slightly springy to the touch.
Step 5: Pipe Crosses and Air Fry
- second-rise buns from Step 4
- 1/3 cup flour
- 2 tbsp water
While the buns finish their second rise, prepare the cross paste by mixing the sifted flour and water into a thick, pipeable consistency—it should hold its shape when piped.
Once the buns are ready, transfer the parchment paper with the buns to your air fryer basket (or place buns directly in the basket if your air fryer is large enough).
Using a piping bag or small squeeze bottle, pipe a generous cross pattern on top of each bun.
I like to use a piping bag fitted with a small round tip to create clean, defined crosses that look professional.
Air fry at 160°C (325°F) for 15 minutes until golden brown, then turn the buns over and bake for 2 more minutes if the bottoms need more color.
Step 6: Glaze and Finish
- air-fried buns from Step 5
- 1.5 tbsp sugar
- 2 tbsp milk
While the buns are still warm from the air fryer, prepare a quick glaze by mixing the sugar with the warm milk until combined and slightly syrupy.
Using a pastry brush or the back of a spoon, generously brush the glaze over the top and sides of each warm bun—the heat will help the glaze set into a light, shiny coating.
Serve warm with butter and jam on the side for spreading.
The milk in the glaze makes it extra creamy and rich, giving the buns that authentic bakery finish.
Traditional Air Fryer Hot Cross Buns
Ingredients
For the dough::
- 1 1/4 cups flour (I always use King Arthur all-purpose flour)
- 1 tsp yeast
- 3 tbsp sugar
- 1/2 tsp mixed spice
- 1/8 tsp ground cinnamon
- 1/4 tsp salt
- 1 extra-large egg (room temperature, about 70°F)
- 2.5 fl oz milk
- 1 tbsp butter (I like Kerrygold unsalted butter for this)
- 1/3 cup dried fruit
For the crosses::
- 1/3 cup flour (sifted to remove lumps)
- 2 tbsp water
For the glaze::
- 1.5 tbsp sugar
- 2 tbsp milk (makes it extra creamy and rich)
Instructions
- Gather all ingredients and bring the egg to room temperature—this helps the dough develop evenly. Measure the flour, yeast, sugar, mixed spice, cinnamon, and salt into a bowl. In a separate small bowl, combine the room-temperature egg with the milk, whisking until well blended. You want approximately 85ml of total liquid, so adjust if needed. This step ensures all your components are ready before mixing, which is crucial for building a well-structured dough.
- Pour the egg-milk mixture into the dry ingredients along with the 1 tbsp of butter, then stir until a shaggy dough forms. Once combined, knead the dough for 5-10 minutes until smooth and elastic—you'll know it's ready when it springs back slowly when poked. Fold in the dried fruit during the last minute of kneading, distributing it evenly throughout. I find that adding the butter directly to the wet mixture helps it incorporate more smoothly into the dough rather than trying to mix it in separately.
- Lightly oil a bowl and place the kneaded dough inside, turning it to coat all sides. Cover the bowl with a damp cloth or plastic wrap and let it rise in a warm spot for 1-1.5 hours until doubled in size. This fermentation period develops flavor and gives the yeast time to work, creating a light, airy texture in your final buns.
- Turn the risen dough out onto a lightly floured surface and gently knead for 1-2 minutes to release excess gas. Divide the dough into four equal pieces and roll each piece into a tight ball, tucking the seams underneath for a smooth top. Place the buns seam-side down on a piece of parchment paper, leaving space between them for expansion. Cover loosely and let rise for 30 minutes until puffy and slightly springy to the touch.
- While the buns finish their second rise, prepare the cross paste by mixing the sifted flour and water into a thick, pipeable consistency—it should hold its shape when piped. Once the buns are ready, transfer the parchment paper with the buns to your air fryer basket (or place buns directly in the basket if your air fryer is large enough). Using a piping bag or small squeeze bottle, pipe a generous cross pattern on top of each bun. I like to use a piping bag fitted with a small round tip to create clean, defined crosses that look professional. Air fry at 160°C (325°F) for 15 minutes until golden brown, then turn the buns over and bake for 2 more minutes if the bottoms need more color.
- While the buns are still warm from the air fryer, prepare a quick glaze by mixing the sugar with the warm milk until combined and slightly syrupy. Using a pastry brush or the back of a spoon, generously brush the glaze over the top and sides of each warm bun—the heat will help the glaze set into a light, shiny coating. Serve warm with butter and jam on the side for spreading. The milk in the glaze makes it extra creamy and rich, giving the buns that authentic bakery finish.