I’ve always thought strawberries deserve more credit as a baking ingredient. Sure, everyone loves them fresh or dipped in chocolate, but throw them into bars with a buttery crust and a cinnamon crumble topping? That’s when things get really good.
These strawberry crumble bars are exactly what I reach for when I want something sweet but don’t feel like fussing with a pie. They’re easier to make, easier to serve, and honestly, easier to eat. No fork required. The strawberry filling is sweet and tangy with a hint of lemon, and that crumble on top adds just the right amount of texture.
Want something portable for a picnic or potluck? These bars travel well. Need a dessert that doesn’t scream “I spent all day in the kitchen”? Also these. They look like you put in effort, but really, they come together pretty quickly.
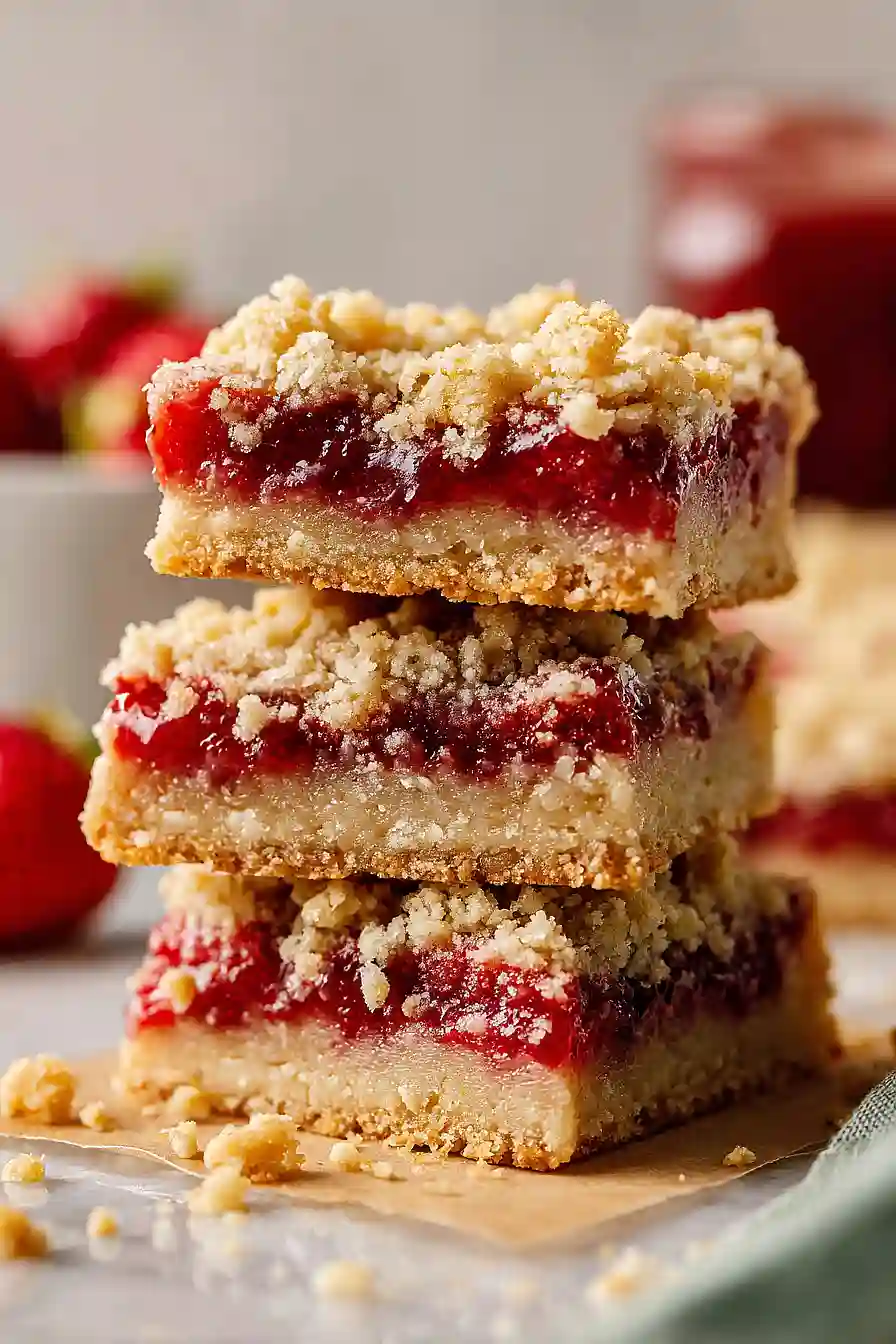
Why You’ll Love These Strawberry Crumble Bars
- Fresh strawberry flavor – Using fresh strawberries instead of jam gives these bars a bright, fruity taste that really shines through in every bite.
- Perfect for sharing – These bars are easy to cut and serve, making them ideal for potlucks, bake sales, or bringing to a friend’s house.
- Buttery crumble topping – The golden, crispy crumble on top adds a nice texture contrast to the soft strawberry filling underneath.
- Make-ahead friendly – You can bake these a day or two in advance and store them in the fridge, which actually makes slicing them even easier.
What Kind of Strawberries Should I Use?
Fresh strawberries are definitely the way to go for these bars, and you’ll want to pick ones that are ripe but still firm enough to hold their shape during baking. If your strawberries are too soft or mushy, they’ll release too much liquid and make your bars soggy. Look for berries that are bright red all the way through without any white or green spots near the stem. While frozen strawberries can work in a pinch, they tend to be much wetter, so you’d need to thaw them completely and drain off the excess liquid before using them in the recipe.
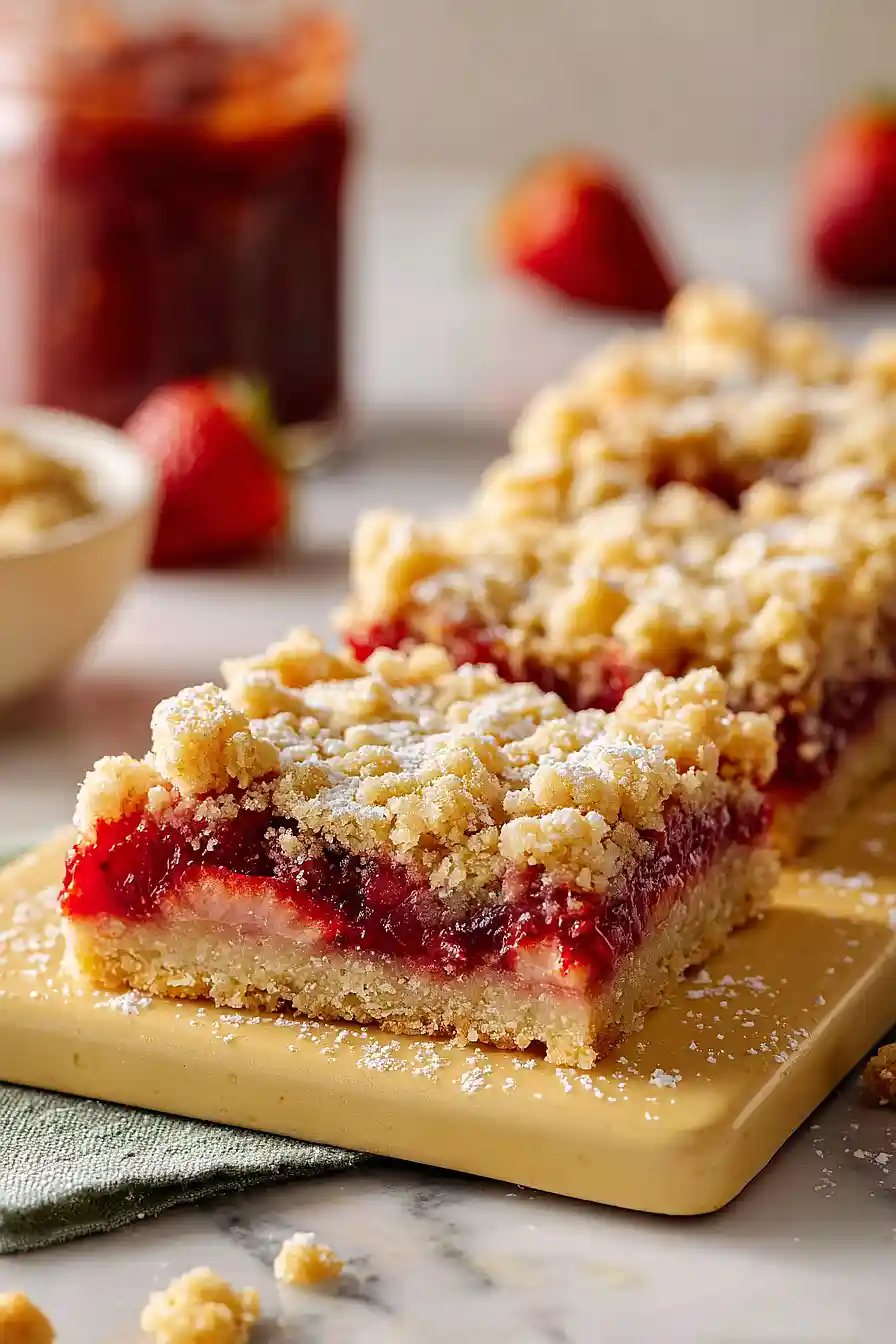
Options for Substitutions
These bars are pretty forgiving when it comes to swaps, so here are some options if you need to make changes:
- Fresh strawberries: Frozen strawberries work great too – just thaw them completely and drain off excess liquid before using. You can also try other berries like raspberries, blueberries, or a mixed berry combo.
- Unsalted butter: If you only have salted butter, go ahead and use it but skip the added salt in the recipe. The bars will turn out just fine.
- Cornstarch: You can swap cornstarch with the same amount of tapioca starch or arrowroot powder. If using flour instead, you’ll need about 3 tablespoons to get the right thickness.
- Light brown sugar: Dark brown sugar or regular granulated sugar both work in the crumble topping. Dark brown will give you a slightly deeper molasses flavor.
- Lemon juice and zest: Fresh lemon is best here as it brightens up the strawberry flavor, but bottled lemon juice can work in a pinch. Just use the same amount.
Watch Out for These Mistakes While Baking
The biggest mistake you can make with strawberry crumble bars is skipping the cooling and chilling time – cutting into them while they’re still warm will result in a messy, runny filling that won’t hold its shape.
Another common error is not pressing the bottom crust firmly enough into the pan, which can lead to a crumbly base that falls apart when you try to slice the bars.
Make sure your strawberries aren’t too wet before mixing them with the cornstarch – if they seem particularly juicy, pat them dry with a paper towel first, or your filling might turn out watery instead of thick and jammy.
Finally, don’t overwork your crumble topping; it should look like coarse crumbs, not a paste, so stop mixing as soon as the butter is incorporated.
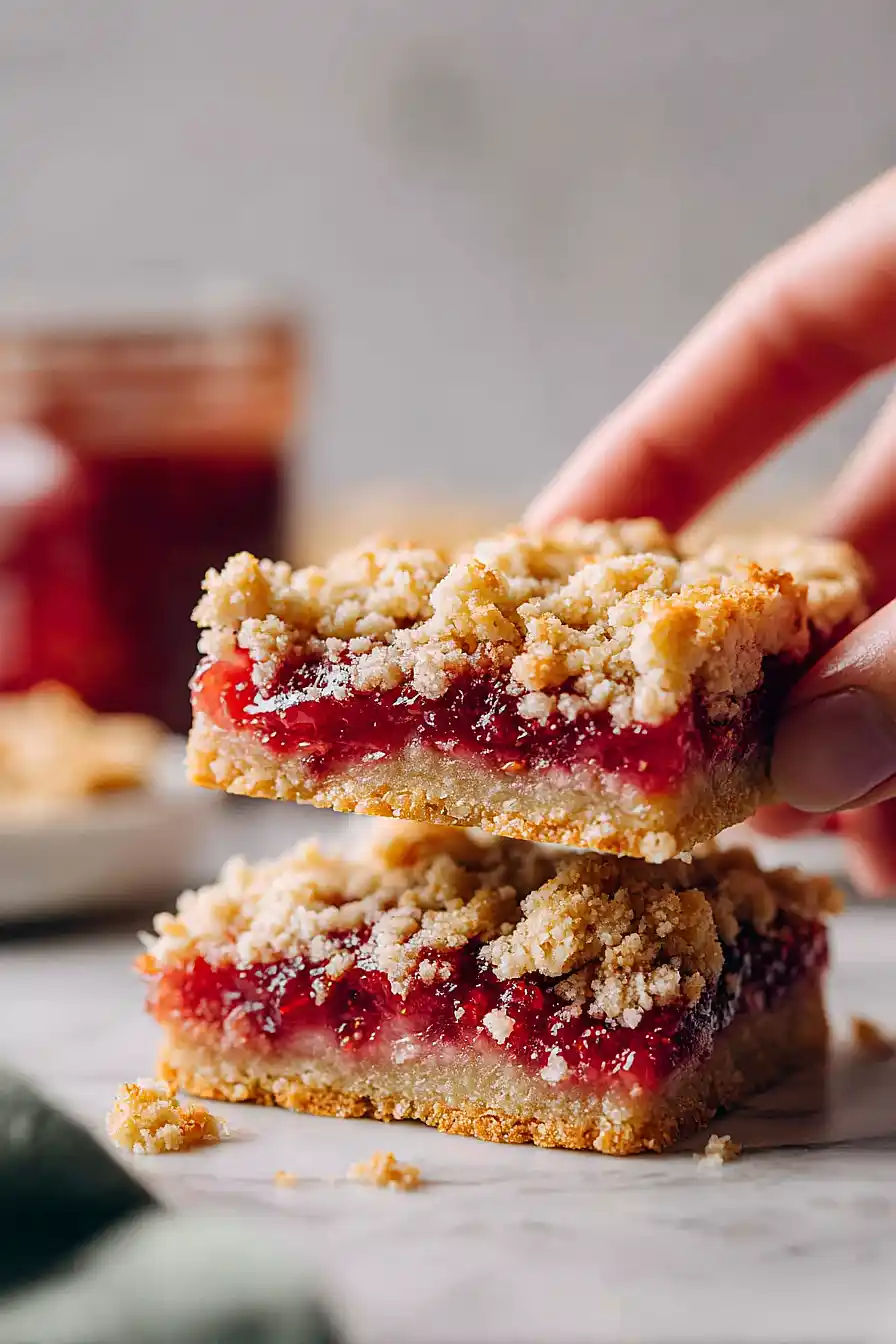
What to Serve With Strawberry Crumble Bars?
These bars are perfect on their own, but they really shine when you serve them with a scoop of vanilla ice cream or a dollop of freshly whipped cream. If you’re having people over for brunch or a summer gathering, set them out alongside some fresh berries and maybe some lemon curd for dipping. They also pair nicely with a cold glass of milk or a hot cup of coffee in the afternoon. For a fun dessert spread, try serving them with other fruity treats like lemon bars or blueberry muffins so everyone can mix and match their favorites.
Storage Instructions
Store: These bars keep really well at room temperature for about 2 days if you store them in an airtight container. If you want them to last longer, pop them in the fridge for up to 5 days. Just know that the crumble topping might soften a bit in the fridge, but they’ll still taste great!
Freeze: You can freeze these bars for up to 3 months. I like to wrap them individually in plastic wrap, then place them all in a freezer bag. This way you can grab just one or two whenever you want a sweet treat without thawing the whole batch.
Serve: Let frozen bars thaw at room temperature for about an hour before eating. If you stored them in the fridge, I recommend letting them sit out for 10-15 minutes to take the chill off. Dust with a little fresh confectioners’ sugar right before serving to make them look pretty again.
| Preparation Time | 20-25 minutes |
| Cooking Time | 45-50 minutes |
| Total Time | 210-230 minutes |
| Level of Difficulty | Medium |
| Servings | 12 bars |
Estimated Nutrition
Estimated nutrition for the whole recipe (without optional ingredients):
- Calories: 2750-2950
- Protein: 25-30 g
- Fat: 120-135 g
- Carbohydrates: 385-410 g
Ingredients
For the crust:
- 1.5 cups King Arthur all-purpose flour
- 1/2 cup sugar
- 3/4 teaspoon salt
- 3/4 cup butter (melted and slightly cooled)
For the filling:
- 3 cups strawberries (hulled and sliced into 1/4-inch rounds)
- 1/3 cup sugar
- 2 tablespoons cornstarch
- 1 teaspoon lemon zest (finely grated)
- 1 tablespoon lemon juice
- 1 teaspoon Nielsen-Massey pure vanilla extract
For the topping:
- 1 cup all-purpose flour
- 1/3 cup brown sugar (packed firmly)
- 1/2 teaspoon cinnamon
- 1/4 teaspoon salt
- 6 tablespoons butter (melted)
- powdered sugar (for dusting once cooled)
Step 1: Prepare the Pan and Make the Crust Base
- 1.5 cups King Arthur all-purpose flour
- 1/2 cup sugar
- 3/4 teaspoon salt
- 3/4 cup butter
Preheat your oven to 350°F and line a 9×13 inch baking dish with parchment paper, leaving a slight overhang for easy removal later.
In a medium bowl, whisk together the flour, sugar, and salt for the crust.
Pour in the melted and slightly cooled butter, stirring until the mixture resembles wet sand with small clumps throughout.
Press this mixture firmly and evenly into the prepared baking dish, using the bottom of a measuring cup or your fingertips to create an even layer.
Bake for 12-15 minutes until the crust is light golden and set but not deeply browned—it will continue to cook when the crumble bakes on top.
Step 2: Prepare the Strawberry Filling
- 3 cups strawberries
- 1/3 cup sugar
- 2 tablespoons cornstarch
- 1 teaspoon lemon zest
- 1 tablespoon lemon juice
- 1 teaspoon Nielsen-Massey pure vanilla extract
While the crust bakes, hull and slice the strawberries into 1/4-inch rounds into a medium bowl.
Add the sugar, cornstarch, lemon zest, lemon juice, and vanilla extract, and gently fold everything together until the strawberries are evenly coated.
Let this mixture sit for 5 minutes—this allows the cornstarch to begin absorbing the strawberry juices, which prevents a soggy filling.
Step 3: Make the Crumble Topping
- 1 cup all-purpose flour
- 1/3 cup brown sugar
- 1/2 teaspoon cinnamon
- 1/4 teaspoon salt
- 6 tablespoons butter
In a separate bowl, whisk together the flour, brown sugar, cinnamon, and salt for the crumble.
Pour in the melted butter and stir until the mixture forms small, irregular clumps—I prefer leaving some larger pieces mixed with finer crumbs because this creates better texture contrast between crispy and tender spots.
Don’t overmix; a slightly chunky texture is exactly what you want here.
Step 4: Assemble and Bake the Bars
- baked crust from Step 1
- strawberry filling from Step 2
- crumble topping from Step 3
Remove the pre-baked crust from the oven and carefully spread the strawberry filling evenly over it, along with all the juices that have accumulated.
Working quickly so the crust doesn’t cool too much, scatter the crumble topping from Step 3 evenly over the strawberries, breaking up any larger clumps as you go—don’t press down on the crumble or it will become dense and cake-like.
Return the bars to the oven and bake for 30-35 minutes until the crumble is golden brown and the strawberry filling is bubbling slightly at the edges.
Step 5: Cool and Finish the Bars
- powdered sugar
Remove the bars from the oven and let them cool in the baking dish at room temperature for at least 1 hour—this cooling time is crucial as it allows the filling to set and makes cutting much cleaner.
Once completely cooled, you can optionally chill the bars for another hour in the refrigerator if you prefer them firmer, though it’s not necessary.
Dust the top generously with powdered sugar just before cutting and serving.
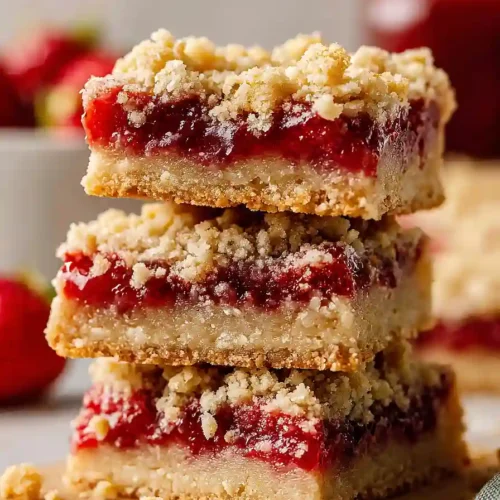
Tasty Strawberry Crumble Bars
Ingredients
For the crust
- 1.5 cups King Arthur all-purpose flour
- 1/2 cup sugar
- 3/4 teaspoon salt
- 3/4 cup butter (melted and slightly cooled)
For the filling
- 3 cups strawberries (hulled and sliced into 1/4-inch rounds)
- 1/3 cup sugar
- 2 tablespoons cornstarch
- 1 teaspoon lemon zest (finely grated)
- 1 tablespoon lemon juice
- 1 teaspoon Nielsen-Massey pure vanilla extract
For the topping
- 1 cup all-purpose flour
- 1/3 cup brown sugar (packed firmly)
- 1/2 teaspoon cinnamon
- 1/4 teaspoon salt
- 6 tablespoons butter (melted)
- powdered sugar (for dusting once cooled)
Instructions
- Preheat your oven to 350°F and line a 9x13 inch baking dish with parchment paper, leaving a slight overhang for easy removal later. In a medium bowl, whisk together the flour, sugar, and salt for the crust. Pour in the melted and slightly cooled butter, stirring until the mixture resembles wet sand with small clumps throughout. Press this mixture firmly and evenly into the prepared baking dish, using the bottom of a measuring cup or your fingertips to create an even layer. Bake for 12-15 minutes until the crust is light golden and set but not deeply browned—it will continue to cook when the crumble bakes on top.
- While the crust bakes, hull and slice the strawberries into 1/4-inch rounds into a medium bowl. Add the sugar, cornstarch, lemon zest, lemon juice, and vanilla extract, and gently fold everything together until the strawberries are evenly coated. Let this mixture sit for 5 minutes—this allows the cornstarch to begin absorbing the strawberry juices, which prevents a soggy filling.
- In a separate bowl, whisk together the flour, brown sugar, cinnamon, and salt for the crumble. Pour in the melted butter and stir until the mixture forms small, irregular clumps—I prefer leaving some larger pieces mixed with finer crumbs because this creates better texture contrast between crispy and tender spots. Don't overmix; a slightly chunky texture is exactly what you want here.
- Remove the pre-baked crust from the oven and carefully spread the strawberry filling evenly over it, along with all the juices that have accumulated. Working quickly so the crust doesn't cool too much, scatter the crumble topping from Step 3 evenly over the strawberries, breaking up any larger clumps as you go—don't press down on the crumble or it will become dense and cake-like. Return the bars to the oven and bake for 30-35 minutes until the crumble is golden brown and the strawberry filling is bubbling slightly at the edges.
- Remove the bars from the oven and let them cool in the baking dish at room temperature for at least 1 hour—this cooling time is crucial as it allows the filling to set and makes cutting much cleaner. Once completely cooled, you can optionally chill the bars for another hour in the refrigerator if you prefer them firmer, though it's not necessary. Dust the top generously with powdered sugar just before cutting and serving.