I didn’t grow up eating pea salad, so the first time someone brought it to a potluck, I’ll admit I was skeptical. Cold peas mixed with mayo? It sounded weird. But after one bite, I got it—the creamy dressing, the salty bacon, the little bite from the onion. It all just works together.
The thing about pea salad is that it’s one of those recipes where the ingredient list looks almost too simple to be good. But that’s exactly why it works. You don’t need anything fancy, and you probably have most of this stuff in your kitchen already. Plus, it comes together in about ten minutes, which makes it perfect for those days when you need to bring something to a cookout and forgot until the last minute.
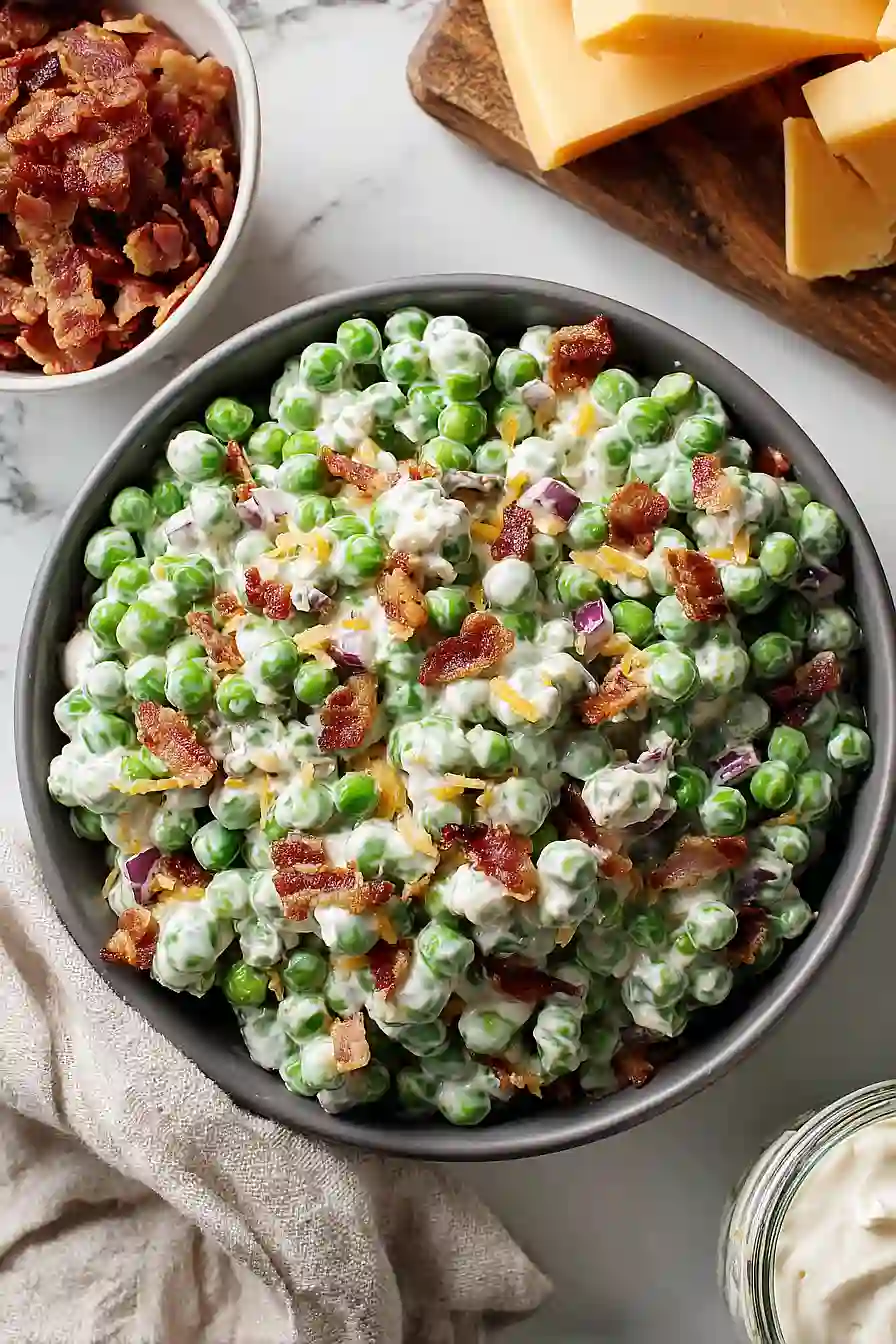
Why You’ll Love This Spring Pea Salad
- Ready in minutes – This salad comes together in just 10-15 minutes, making it perfect for last-minute potlucks or when you need a quick side dish.
- Simple ingredients – You only need a handful of basic ingredients that you probably already have in your fridge and pantry.
- Crowd-pleasing flavor – The creamy dressing combined with crispy bacon and sharp cheddar makes this salad disappear fast at gatherings.
- No cooking required – Just mix everything together in a bowl and you’re done – no stove or oven needed.
What Kind of Peas Should I Use?
For this spring pea salad, you have a few options that’ll all work great. Fresh peas are wonderful if you can find them at the farmers market or grocery store during peak season, but frozen peas are honestly just as good and way more convenient since they’re already shelled and blanched. If you go with frozen, just thaw them out first – you can run them under cool water or let them sit at room temperature for about 30 minutes. Canned peas tend to be a bit mushy for salads like this, so I’d skip those if possible and stick with fresh or frozen for the best texture and flavor.
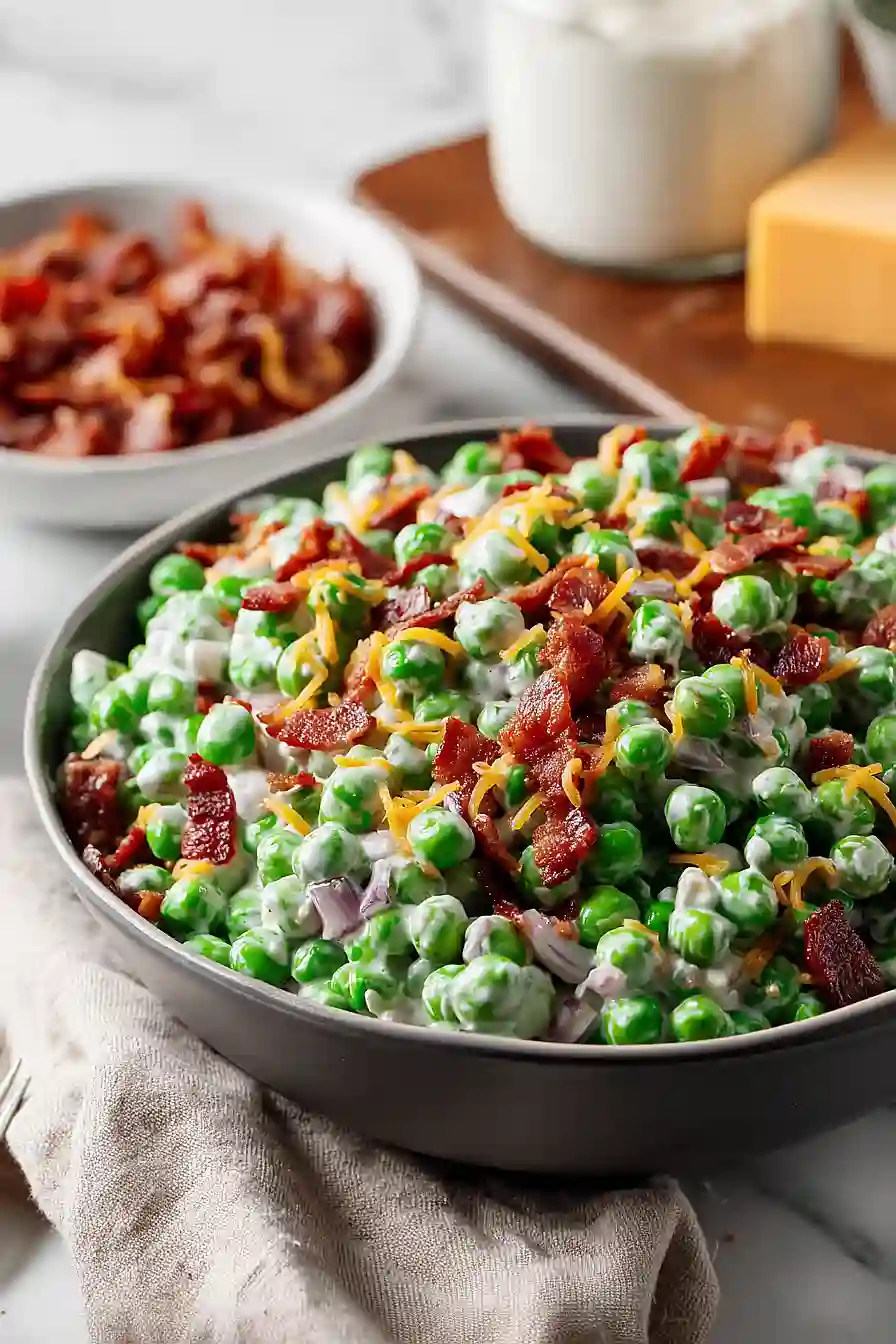
Options for Substitutions
This simple salad is easy to customize based on what you have in your kitchen:
- Peas: Fresh or frozen peas both work great here. If using frozen, just thaw them first and pat dry. You can also try a mix of peas and edamame for extra protein and texture.
- Sour cream: Greek yogurt makes a great substitute for sour cream and adds a nice tang. You can also use all mayo if that’s what you have on hand – just use about 1/2 cup total.
- Bacon: Turkey bacon or even crispy prosciutto work well if you want to switch things up. For a vegetarian version, try roasted sunflower seeds or chopped pecans for that crunchy element.
- Cheddar cheese: Most cheeses work in this salad. Try Swiss, Gouda, or even crumbled feta for a different flavor profile. Just keep the amount the same.
- Mayo: If you’re not a mayo fan, you can use all sour cream or Greek yogurt instead. The dressing will be a bit tangier but still tasty.
Watch Out for These Mistakes While Cooking
The biggest mistake with pea salad is skipping the draining step after thawing, which leaves excess water that dilutes your dressing and makes everything watery – pat those peas dry with paper towels for the best texture.
Another common error is adding the dressing while the peas are still cold from the freezer, so let them sit at room temperature for about 15 minutes before mixing, which helps the flavors blend better.
Don’t dump all your bacon and cheese in at once without reserving some for the top – saving a tablespoon of each for garnish makes your salad look more appetizing and gives every bite a little crunch.
Finally, make this salad at least an hour before serving so the flavors have time to meld together, and give it a quick stir right before putting it on the table since the dressing can settle at the bottom.
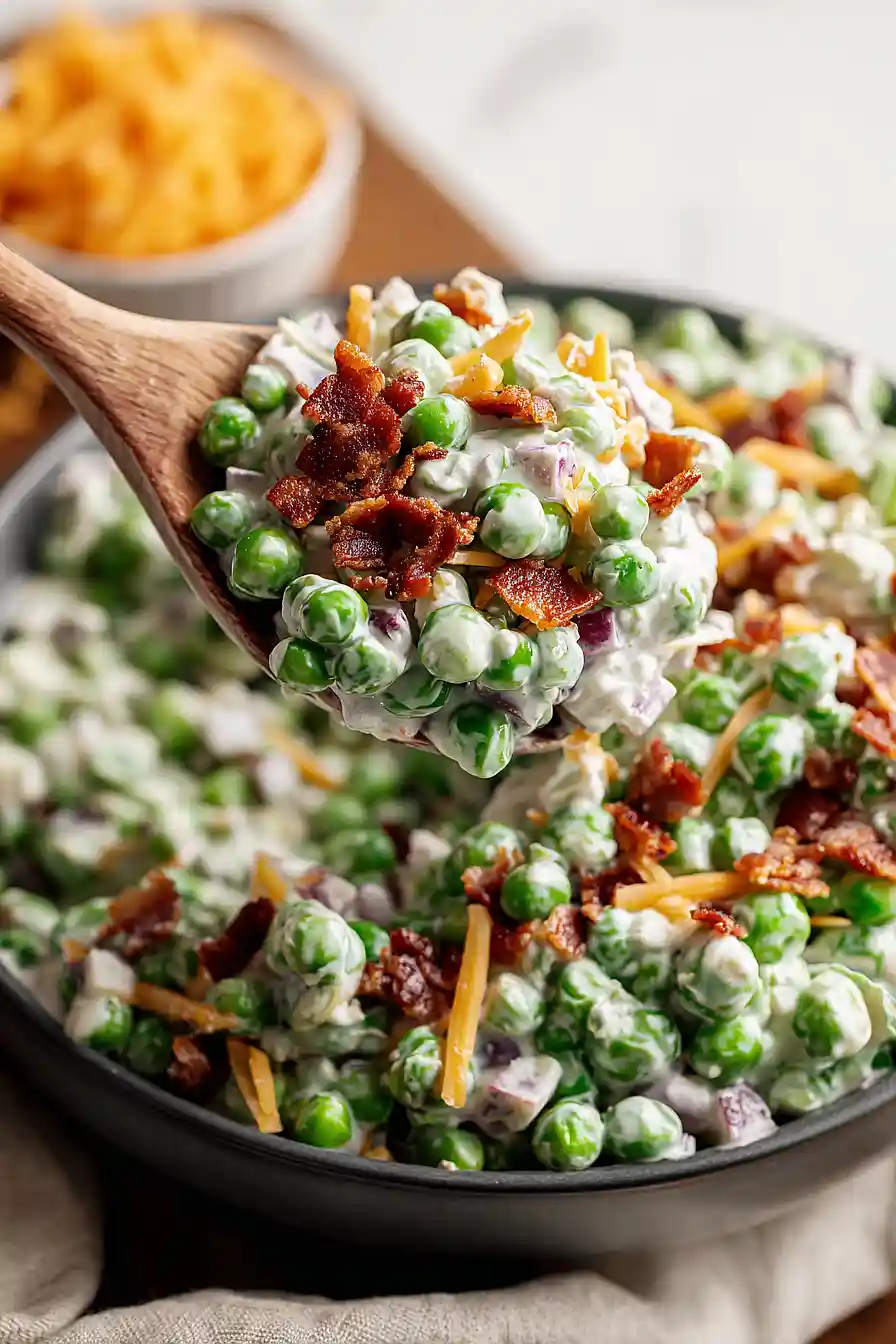
What to Serve With Pea Salad?
Pea salad is one of those side dishes that shows up at every summer cookout for good reason – it pairs perfectly with just about any grilled meat. I love serving it alongside barbecue chicken, grilled burgers, or even pulled pork sandwiches since the cool, creamy salad balances out the smoky flavors. It’s also great as part of a potluck spread with other picnic favorites like potato salad, coleslaw, and baked beans. If you’re looking for a lighter meal, try it with some grilled fish or as a topping for a simple green salad to add extra protein and flavor.
Storage Instructions
Refrigerate: This spring pea salad tastes best when it’s fresh and cold. Keep it covered in the fridge for up to 3 days. The peas might release a little liquid as it sits, so just give it a quick stir before serving.
Make Ahead: You can prep this salad a few hours before serving, which actually helps the flavors come together nicely. Just wait to add the bacon until right before you serve so it stays crispy and doesn’t get soggy from the dressing.
| Preparation Time | 10-15 minutes |
| Cooking Time | 0 minutes |
| Total Time | 10-15 minutes |
| Level of Difficulty | Easy |
| Servings | 4 cups of salad |
Estimated Nutrition
Estimated nutrition for the whole recipe (without optional ingredients):
- Calories: 800-900
- Protein: 26-32 g
- Fat: 52-60 g
- Carbohydrates: 56-68 g
Ingredients
- 1 lb peas (I use Birds Eye sweet peas)
- 5 tbsp miracle whip
- 1/2 cup sour cream (I prefer Daisy for a thicker texture)
- 1/4 cup bacon bits (cooked until crispy and crumbled into 1/4-inch pieces)
- 1/4 cup shredded cheddar cheese
- 1/4 tsp black pepper
- 1/2 tsp salt
- 2 tablespoon finely diced red onion
Step 1: Prepare the Peas and Ingredients
- 1 lb frozen peas
Thaw the frozen peas according to package directions, then drain them thoroughly in a colander—this prevents excess moisture from diluting the dressing.
While the peas thaw, measure out all remaining ingredients and set them aside.
I like to use frozen peas for this salad because they’re consistent in texture and don’t require cooking, which keeps the dish light and fresh.
Step 2: Make the Creamy Dressing Base
- 5 tbsp miracle whip
- 1/2 cup sour cream
- 1/2 tsp salt
- 1/4 tsp black pepper
In a large mixing bowl, whisk together the miracle whip and sour cream until smooth and well combined.
Add the salt and black pepper, stirring to distribute the seasonings evenly throughout the dressing.
This creates a flavorful base that will coat all the vegetables and proteins in the salad.
Step 3: Combine All Ingredients and Finish
- drained peas from Step 1
- creamy dressing mixture from Step 2
- 1/4 cup bacon bits
- 1/4 cup shredded cheddar cheese
- 2 tablespoons finely diced red onion
Add the drained peas from Step 1 to the creamy dressing base from Step 2, then fold in the bacon bits, shredded cheddar cheese, and finely diced red onion.
Mix gently but thoroughly until everything is evenly coated and distributed.
I find that folding rather than stirring vigorously helps keep the peas intact and prevents them from breaking apart.
Taste the salad and adjust seasoning if needed—add extra salt or pepper to your preference.
Creamy Spring Pea Salad
Ingredients
- 1 lb peas (I use Birds Eye sweet peas)
- 5 tbsp miracle whip
- 1/2 cup sour cream (I prefer Daisy for a thicker texture)
- 1/4 cup bacon bits (cooked until crispy and crumbled into 1/4-inch pieces)
- 1/4 cup shredded cheddar cheese
- 1/4 tsp black pepper
- 1/2 tsp salt
- 2 tablespoon finely diced red onion
Instructions
- Thaw the frozen peas according to package directions, then drain them thoroughly in a colander—this prevents excess moisture from diluting the dressing. While the peas thaw, measure out all remaining ingredients and set them aside. I like to use frozen peas for this salad because they're consistent in texture and don't require cooking, which keeps the dish light and fresh.
- In a large mixing bowl, whisk together the miracle whip and sour cream until smooth and well combined. Add the salt and black pepper, stirring to distribute the seasonings evenly throughout the dressing. This creates a flavorful base that will coat all the vegetables and proteins in the salad.
- Add the drained peas from Step 1 to the creamy dressing base from Step 2, then fold in the bacon bits, shredded cheddar cheese, and finely diced red onion. Mix gently but thoroughly until everything is evenly coated and distributed. I find that folding rather than stirring vigorously helps keep the peas intact and prevents them from breaking apart. Taste the salad and adjust seasoning if needed—add extra salt or pepper to your preference.