Hot cross buns remind me of lazy Easter mornings, but here’s a secret: I’m not about to spend hours kneading dough before the sun comes up. That’s where this no-knead version swoops in to save the day. You mix everything together the night before, let the dough do its thing while you sleep, and wake up to pillowy buns studded with dried fruit and warm spices.
The best part? These buns taste like you’ve been slaving away in the kitchen since dawn, but really you’ve just been getting your beauty sleep. I’ve loaded mine up with toasted hazelnuts, a mix of cinnamon, nutmeg, cardamom, and allspice, plus citrus zest that makes your whole house smell like spring. They’re soft, slightly sweet, and perfect with a cup of coffee.
Whether you’re making them for Easter or just because it’s Tuesday and you deserve something nice, these no-knead hot cross buns make the whole process actually doable. No standing mixer required, no arm workout from kneading. Just you, a bowl, and the promise of fresh buns in the morning.
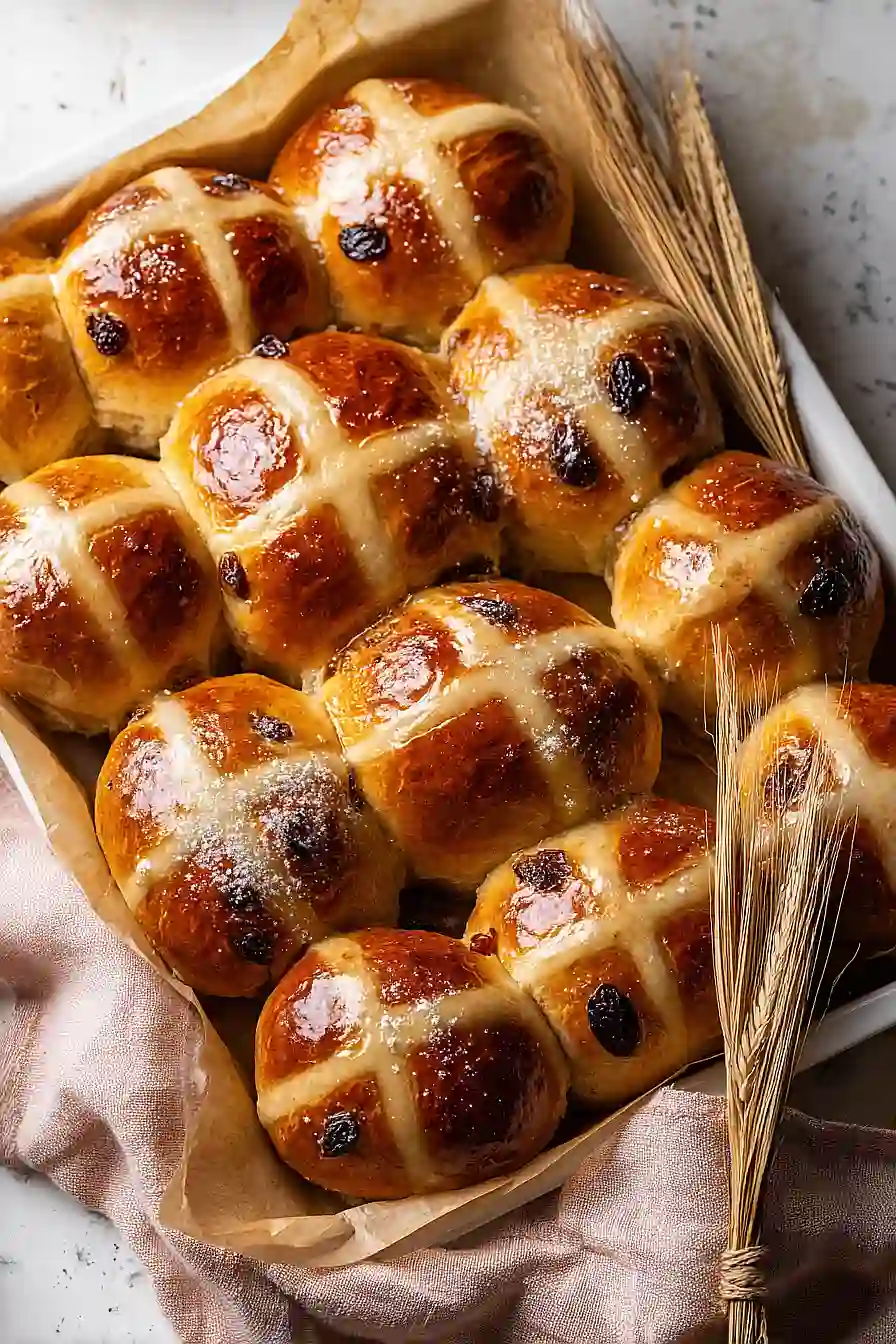
Why You’ll Love These Hot Cross Buns
- No kneading required – You can skip the arm workout and still get soft, fluffy buns. Just mix the ingredients and let time do the work for you.
- Packed with flavor – The warm spices like cinnamon, nutmeg, and cardamom combined with citrus zest and dried fruit make every bite taste like a cozy hug.
- Perfect for special occasions – These buns are ideal for Easter breakfast or brunch, but honestly, they’re too good to save for just one day a year.
- Beginner-friendly – Even if you’ve never made yeasted bread before, this recipe is forgiving and straightforward enough to give you bakery-worthy results.
What Kind of Flour Should I Use?
For hot cross buns, you’ll want to use all-purpose flour or bread flour for the best results. All-purpose flour will give you a softer, more tender bun, while bread flour creates a slightly chewier texture with a bit more structure. Either one works great, so just use whatever you have on hand. If you’re feeling adventurous, you can even swap out about a quarter of the flour for whole wheat flour to add a nuttier flavor, though this will make your buns a bit denser. Just make sure your flour is fresh and stored properly – old flour can affect how well your dough rises and the overall taste of your buns.
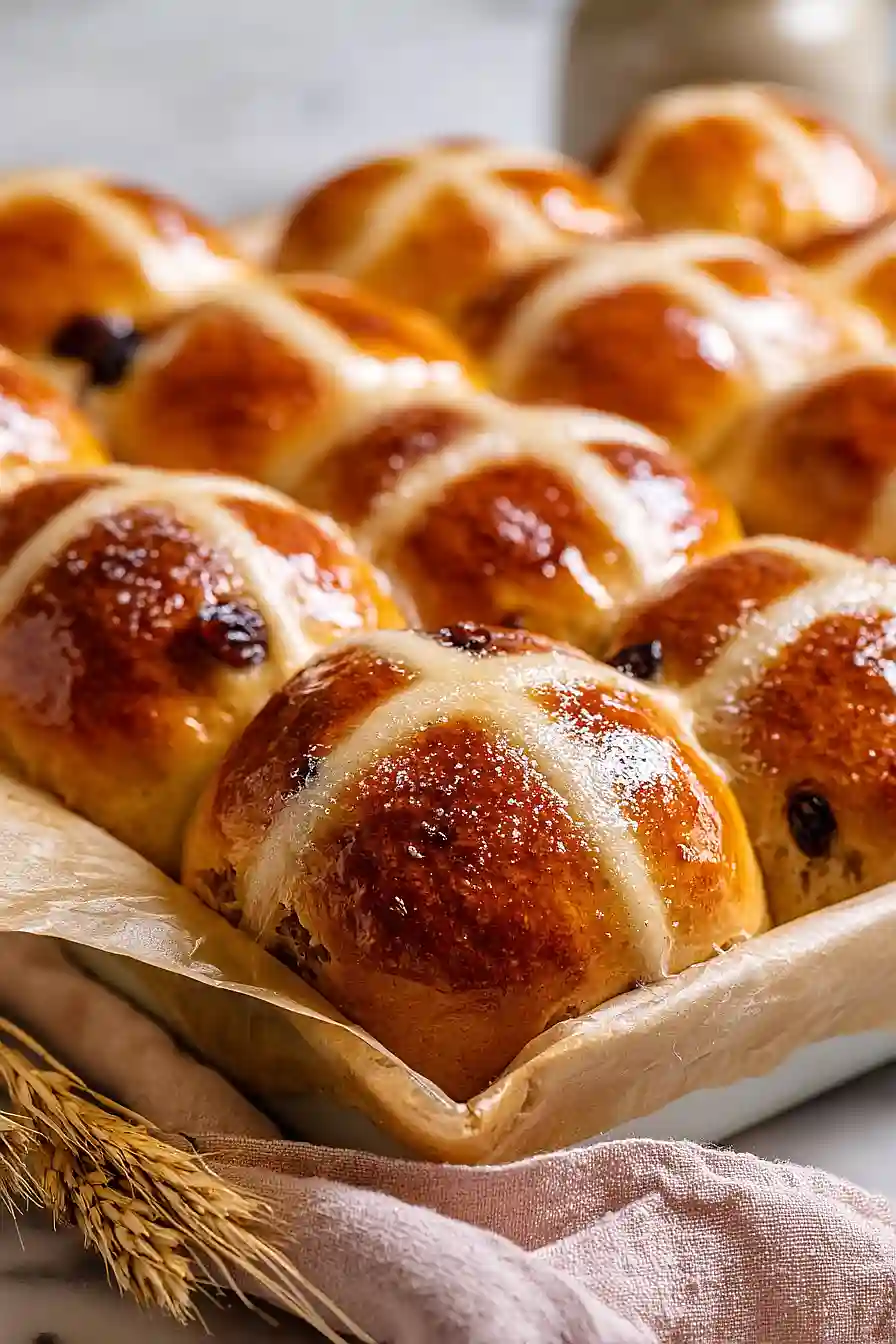
Options for Substitutions
These hot cross buns are pretty forgiving when it comes to swapping ingredients:
- Hazelnuts: You can easily swap hazelnuts for chopped almonds, walnuts, or pecans. Or leave them out completely if you prefer a nut-free version.
- Mixed dried fruit: Use whatever dried fruit you have on hand – raisins, currants, chopped apricots, or cranberries all work great. You can also mix and match to create your own blend.
- Spices: Don’t have all three spices? Just use what you have. A combination of cinnamon and nutmeg works fine, or you can use 2 teaspoons of pumpkin pie spice or mixed spice instead.
- Milk: Any type of milk works here – whole, skim, almond, oat, or soy milk are all fine substitutes. Just keep the liquid measurement the same.
- Oil: You can replace the oil with melted butter for a richer flavor. Use the same amount and let it cool slightly before mixing.
- Citrus zest: If you only have one type of citrus, use 2 teaspoons of zest from whichever you have. Lime zest also works in a pinch.
- Yeast: This is one ingredient you shouldn’t substitute – the recipe needs yeast to rise properly and create that soft, fluffy texture.
Watch Out for These Mistakes While Baking
The biggest mistake with no-knead hot cross buns is skipping the long rise time or trying to rush it – those 6-9 hours are essential for developing flavor and the right texture, so plan ahead and start the dough the night before you want to bake.
When shaping the dough after the long rise, resist the urge to add too much extra flour or overwork it, since this dough is meant to be soft and slightly sticky – just use enough flour to handle it and shape gently.
Make sure your milk and water are lukewarm (not hot) when mixing the dough, as water that’s too hot can kill the yeast and prevent your buns from rising properly.
For the cross paste, aim for a thick consistency similar to toothpaste so it holds its shape during baking, and if your dried fruit seems too dry, soak it in warm water for 10 minutes before adding to prevent hard, chewy bits in the finished buns.
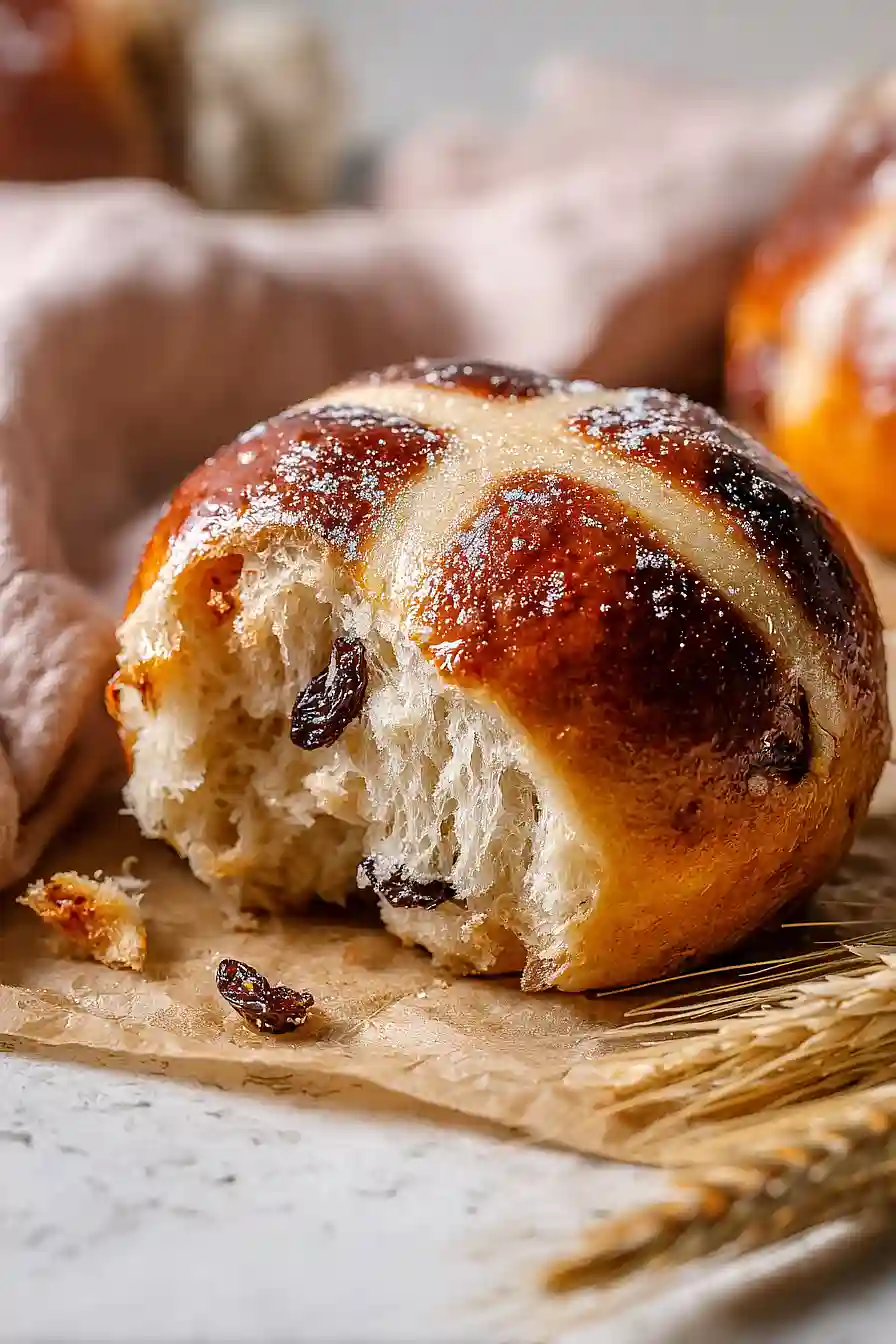
What to Serve With Hot Cross Buns?
Hot cross buns are perfect for Easter brunch or a cozy weekend breakfast, and they’re best served warm with plenty of butter melting into all those nooks and crannies. I love setting them out alongside a spread of cream cheese, orange marmalade, or honey so everyone can pick their favorite topping. They pair beautifully with a cup of strong coffee or tea, and if you’re making a full brunch spread, consider adding some scrambled eggs, fresh fruit salad, or yogurt with granola on the side. These buns are also wonderful toasted the next day and served with a bit of jam for an afternoon snack.
Storage Instructions
Store: Keep your hot cross buns in an airtight container or bread box at room temperature for up to 3 days. They’re best enjoyed within the first day or two when they’re still soft and fresh, but they’ll still taste great after that.
Freeze: These buns freeze really well, which is great since the recipe makes a nice batch. Once they’ve cooled completely, wrap them individually in plastic wrap and store in a freezer bag for up to 3 months. This way you can pull out just what you need.
Warm Up: To bring your buns back to life, let frozen ones thaw at room temperature for about an hour. Then warm them in a 300°F oven for 5-10 minutes, or pop them in the toaster for a minute or two. A little butter on a warm bun is pretty hard to beat!
| Preparation Time | 30-40 minutes |
| Cooking Time | 20-25 minutes |
| Total Time | 450-570 minutes |
| Level of Difficulty | Medium |
| Servings | 10 buns |
Estimated Nutrition
Estimated nutrition for the whole recipe (without optional ingredients):
- Calories: 3300-3600
- Protein: 65-75 g
- Fat: 85-95 g
- Carbohydrates: 600-650 g
Ingredients
For the dough:
- 1.9 oz hazelnuts (toasted and chopped into 1/4-inch pieces)
- 1.2 lb flour (I always use King Arthur all-purpose flour)
- 3 tsp yeast
- 1 tsp cinnamon
- 1 tsp nutmeg
- 1/2 tsp cardamom
- 1/4 tsp allspice
- 2 tsp salt
- 5 tbsp sugar
- 9.3 oz mixed dried fruit (I use Sun-Maid fruit bits)
- 1 lemon zest
- 1 orange zest
- 2.7 fl oz oil (I prefer Wesson vegetable oil for a neutral taste)
- 1 cup + 2 tbsp milk (warmed to 105-115°F)
- 3/4 cup water
For the crosses:
- 5 tbsp flour
- water (add 1 tsp at a time until a thick paste forms)
For the glaze:
- 2 tbsp sugar
- 2 tbsp boiling water
Step 1: Toast Hazelnuts and Prepare Mise en Place
- 1.9 oz hazelnuts
- 1 lemon zest
- 1 orange zest
Preheat your oven to 350°F and toast the hazelnuts on a baking sheet for 10 minutes, shaking the pan halfway through at the 5-minute mark to ensure even browning.
Once toasted and cooled slightly, chop them into roughly 1/4-inch pieces.
While the nuts toast, measure out all your dry ingredients and zest both the lemon and orange directly into a small bowl.
I like to zest citrus early because it’s easier to handle whole fruit, and the oils stay fresher when zested just before mixing.
Step 2: Combine Dry Ingredients and Hydrate the Dough
- 1.2 lb flour
- 3 tsp yeast
- 1 tsp cinnamon
- 1 tsp nutmeg
- 1/2 tsp cardamom
- 1/4 tsp allspice
- 2 tsp salt
- 5 tbsp sugar
- 9.3 oz mixed dried fruit
- toasted and chopped hazelnuts from Step 1
- lemon and orange zest from Step 1
- 2.7 fl oz oil
- 1 cup + 2 tbsp milk
- 3/4 cup water
In a large bowl, whisk together the flour, yeast, cinnamon, nutmeg, cardamom, allspice, salt, and sugar.
Add the toasted and chopped hazelnuts from Step 1, mixed dried fruit, and the zests.
Create a well in the center and pour in the warmed milk (105-115°F is crucial—it activates the yeast without killing it), oil, and water.
Stir everything together until fully combined into a shaggy, wet dough.
The mixture should be slightly sticky and uniform with no dry flour pockets remaining.
Step 3: Long Ferment the Dough (Bulk Rise)
- wet dough from Step 2
Cover the bowl tightly with plastic wrap or a damp towel and let it sit at room temperature for 6-9 hours.
This is the magic of no-knead baking—the long fermentation develops flavor and allows gluten to develop naturally without kneading.
The dough will become puffy, slightly risen, and more cohesive.
I prefer the longer end of this window (8-9 hours) for deeper flavor, but 6 hours is the minimum.
You can do this overnight or during the day depending on your schedule.
Step 4: Shape Buns and Begin Final Rise
- fermented dough from Step 3
- flour
Lightly flour a work surface and turn out the fermented dough from Step 3.
Using a bench scraper or knife, divide the dough into 10 equal pieces (roughly 2.5 ounces each).
Working with one piece at a time, gently shape each into a tight ball by folding the edges toward the center and rolling it on the counter with light pressure.
Place all 10 shaped buns on a parchment-lined baking sheet, spacing them about 2 inches apart.
Cover the sheet with plastic wrap and let the buns proof for 30 minutes at room temperature while you preheat the oven to 400°F.
Step 5: Prepare and Pipe Cross Paste
- 5 tbsp flour
- water
While the buns are proofing, make the paste for the crosses.
In a small bowl, mix the 5 tablespoons of flour with water, adding it 1 teaspoon at a time, until you reach a thick, pipeable paste consistency (similar to cake batter or thick yogurt).
Transfer the paste to a pastry bag fitted with a round tip, or use a squeeze bottle.
Once the buns have proofed for 30 minutes and the oven has reached 400°F, pipe a thick cross on top of each bun, pressing gently so the paste adheres but doesn’t sink into the dough.
Step 6: Bake Buns Until Golden
- shaped and proofed buns from Step 4 with crosses from Step 5
Bake the buns at 400°F for 20 minutes until they’re golden brown on top and have risen significantly.
The crosses should set and turn slightly darker than the bun itself.
The buns are done when they sound slightly hollow when tapped on the bottom, though with the long fermentation they’ll already have great flavor even if they’re on the lighter side of golden.
Step 7: Glaze Hot Buns and Cool
- 2 tbsp sugar
- 2 tbsp boiling water
While the buns are still hot from the oven, quickly prepare the glaze by mixing the 2 tablespoons of sugar with 2 tablespoons of boiling water, stirring until the sugar dissolves completely.
Using a pastry brush, generously brush the glaze over each hot bun—the heat helps the sugar dissolve slightly into the dough, creating a subtle shine and light crunch.
Let the buns cool on a wire rack for at least 10 minutes before serving.
They’re best enjoyed warm or at room temperature on the same day, though they’ll keep for 2-3 days in an airtight container.
Classic No Knead Hot Cross Buns
Ingredients
For the dough
- 1.9 oz hazelnuts (toasted and chopped into 1/4-inch pieces)
- 1.2 lb flour (I always use King Arthur all-purpose flour)
- 3 tsp yeast
- 1 tsp cinnamon
- 1 tsp nutmeg
- 1/2 tsp cardamom
- 1/4 tsp allspice
- 2 tsp salt
- 5 tbsp sugar
- 9.3 oz mixed dried fruit (I use Sun-Maid fruit bits)
- 1 lemon zest
- 1 orange zest
- 2.7 fl oz oil (I prefer Wesson vegetable oil for a neutral taste)
- 1 cup + 2 tbsp milk (warmed to 105-115°F)
- 3/4 cup water
For the crosses
- 5 tbsp flour
- water (add 1 tsp at a time until a thick paste forms)
For the glaze
- 2 tbsp sugar
- 2 tbsp boiling water
Instructions
- Preheat your oven to 350°F and toast the hazelnuts on a baking sheet for 10 minutes, shaking the pan halfway through at the 5-minute mark to ensure even browning. Once toasted and cooled slightly, chop them into roughly 1/4-inch pieces. While the nuts toast, measure out all your dry ingredients and zest both the lemon and orange directly into a small bowl. I like to zest citrus early because it's easier to handle whole fruit, and the oils stay fresher when zested just before mixing.
- In a large bowl, whisk together the flour, yeast, cinnamon, nutmeg, cardamom, allspice, salt, and sugar. Add the toasted and chopped hazelnuts from Step 1, mixed dried fruit, and the zests. Create a well in the center and pour in the warmed milk (105-115°F is crucial—it activates the yeast without killing it), oil, and water. Stir everything together until fully combined into a shaggy, wet dough. The mixture should be slightly sticky and uniform with no dry flour pockets remaining.
- Cover the bowl tightly with plastic wrap or a damp towel and let it sit at room temperature for 6-9 hours. This is the magic of no-knead baking—the long fermentation develops flavor and allows gluten to develop naturally without kneading. The dough will become puffy, slightly risen, and more cohesive. I prefer the longer end of this window (8-9 hours) for deeper flavor, but 6 hours is the minimum. You can do this overnight or during the day depending on your schedule.
- Lightly flour a work surface and turn out the fermented dough from Step 3. Using a bench scraper or knife, divide the dough into 10 equal pieces (roughly 2.5 ounces each). Working with one piece at a time, gently shape each into a tight ball by folding the edges toward the center and rolling it on the counter with light pressure. Place all 10 shaped buns on a parchment-lined baking sheet, spacing them about 2 inches apart. Cover the sheet with plastic wrap and let the buns proof for 30 minutes at room temperature while you preheat the oven to 400°F.
- While the buns are proofing, make the paste for the crosses. In a small bowl, mix the 5 tablespoons of flour with water, adding it 1 teaspoon at a time, until you reach a thick, pipeable paste consistency (similar to cake batter or thick yogurt). Transfer the paste to a pastry bag fitted with a round tip, or use a squeeze bottle. Once the buns have proofed for 30 minutes and the oven has reached 400°F, pipe a thick cross on top of each bun, pressing gently so the paste adheres but doesn't sink into the dough.
- Bake the buns at 400°F for 20 minutes until they're golden brown on top and have risen significantly. The crosses should set and turn slightly darker than the bun itself. The buns are done when they sound slightly hollow when tapped on the bottom, though with the long fermentation they'll already have great flavor even if they're on the lighter side of golden.
- While the buns are still hot from the oven, quickly prepare the glaze by mixing the 2 tablespoons of sugar with 2 tablespoons of boiling water, stirring until the sugar dissolves completely. Using a pastry brush, generously brush the glaze over each hot bun—the heat helps the sugar dissolve slightly into the dough, creating a subtle shine and light crunch. Let the buns cool on a wire rack for at least 10 minutes before serving. They're best enjoyed warm or at room temperature on the same day, though they'll keep for 2-3 days in an airtight container.